
Cloudflare Tunnel 解決中華電信小烏龜佔用 80/ 443 Port
有考慮在家裡自己架 Server 的人有可能會遇到中華電信小烏龜佔用 80 以及 443 Port
這時候有兩種解法 (我想得到的)
租一台雲端主機利用 Nginx 去做 Reverse Proxy
用 Cloudflare Tunnel
我以前是用 GCP 的 VM 去做 Reverse Proxy 好處是彈性比較大,缺點是貴
而我現在是用 Cloudflare Tunnel 優點是速度快,免費,缺點是要有自己的 Domain Name 並要把DNS 指向 Cloudflare (如果是在 Domain Name 是Cloudflare管理的話不太需要考慮這問題 ),原始資料原始為加密的資料會經過 Cloudflare
本文會介紹的是 Cloudflare Tunnel 的方式
安裝 Cloudflare 軟體到自己 Server 上
本教學預設你用的是 Ubuntu 24.04 不是的話,部分操作請自行變化,但是大致上邏輯一樣
1 | sudo mkdir -p --mode=0755 /usr/share/keyrings |
登入 Cloudflare
1 | sudo cloudflared tunnel login |
輸入上面的指令會有底下的輸出,把底下的網址複製下來貼在你的瀏覽器上面
1 | A browser window should have opened at the following URL: |
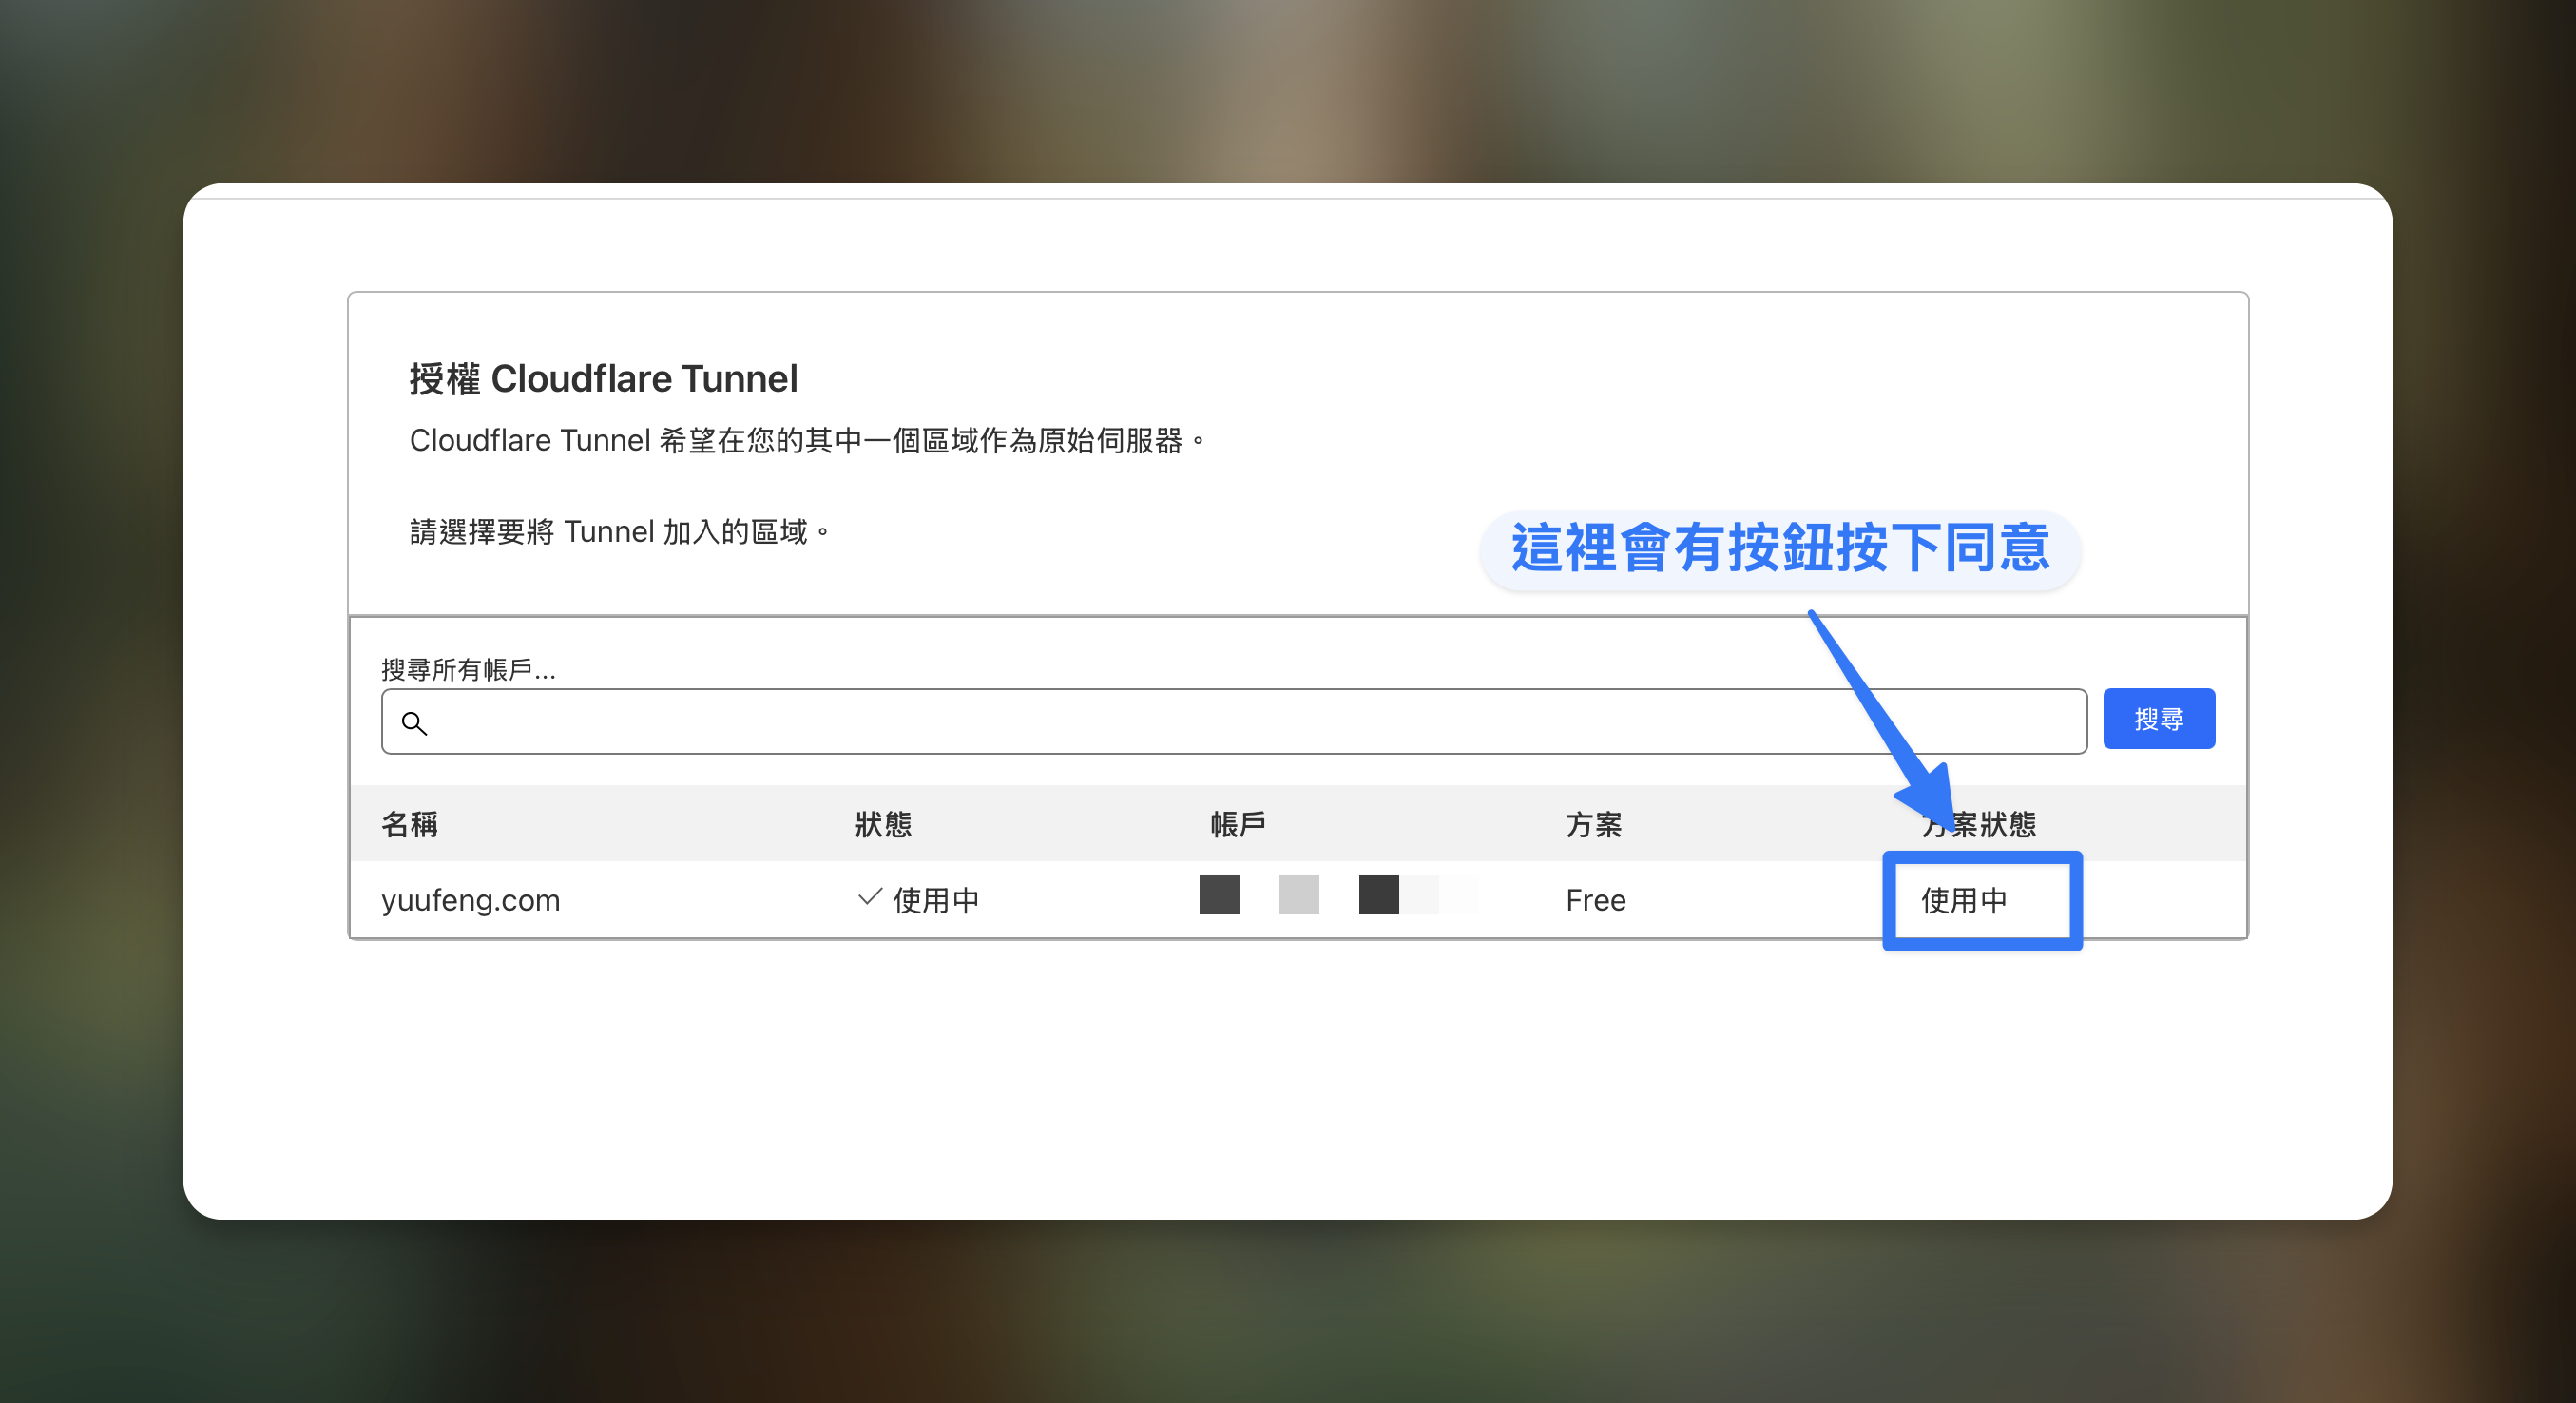
選擇你的 DNS 並同意
建立 Cloudflare Tunnel
1 | # default 是名稱 |
建立完成後會看到像是底下的訊息,我們要把/root/.cloudflared/xxx… 以及 yyyy-yyy… 記錄下來
1 | Tunnel credentials written to /root/.cloudflared/xxxx-xxxx-xxxx-xxxx-xxxx.json. cloudflared chose this file based on where your origin certificate was found. Keep this file secret. To revoke these credentials, delete the tunnel. |
把 Domain Name 指向 Cloudflare Tunnel
1 | # default 為你當時建立的 Tunnel 名稱 |
如果你出現了底下的錯誤表示你對應的 Domain Name 已經存在一筆紀錄
1 | code: 1003, reason: An A, AAAA, or CNAME record with that host already exists |
你可以加上 --overwrite-dns 來覆蓋過去
1 | sudo cloudflared tunnel route dns --overwrite-dns default blog.yuufeng.com |
編輯 config.yml 檔案
在 /etc 建立一個 cloudflared 資料夾
之後建立一個 config.yml 文件
附註請使用你熟悉的編輯器例如 nano, 如果被困在 vim, 按下 ESC 之後輸入 :q!
1 | mkdir -p /etc/cloudflared |
在文件裡面輸入
1 | tunnel: xxxx-xxx-xxx.... |
測試看看
如過設定沒有錯的話,這樣應該可以正常執行了
1 | sudo cloudflared tunnel run default |
加入 Systemd 避免每次都要執行 tunnel run
1 | sudo cloudflared service install |